
STEP 1
klik file > new buat witdh:640 height:180.dan warnai layer tersbt dgn warna hitam
STEP 2
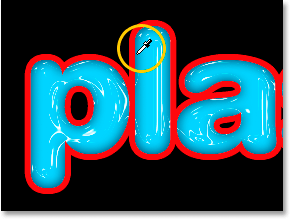
Buatlah text plastic,dan klik
lalu buatlah text dgn tool g logonya T
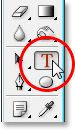
lalu atur pengaturan bar yg ada diatas

buatlah textnya dgn warna putih
STEP 3
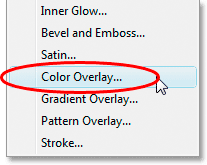
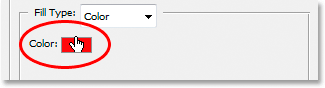
Klik yg logonya fx yg ada dibawah kanan:
lalu plih Color Overlay
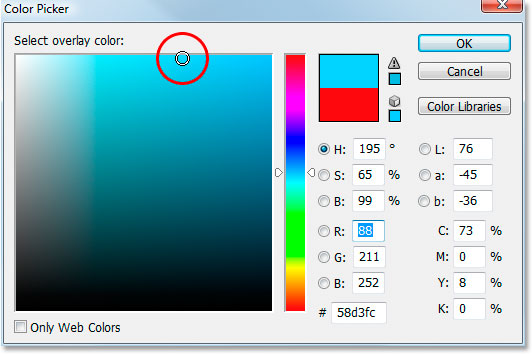
klik pada color swatch dan ubah “Blend Mode” dan pilih warna baru untuk text:
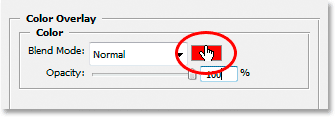
dan copy kode warna yg ada di gambar di bawah ini:
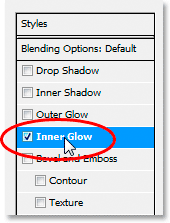
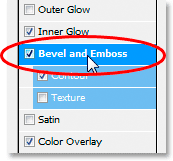
lalu klik inner glow
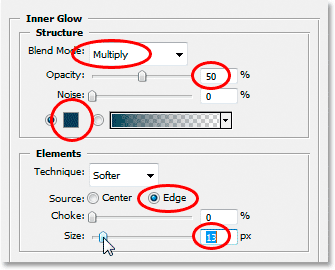
dan atur dgn seperti gambar dibawah ini:
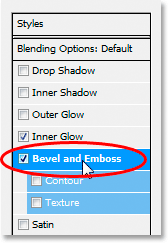
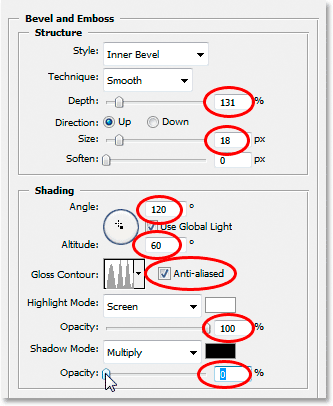
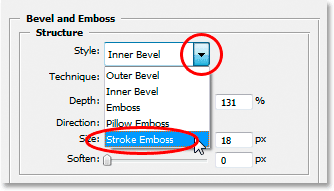
Lalu klik bevel and emboss
dan atur seperti gambar di bawah ini: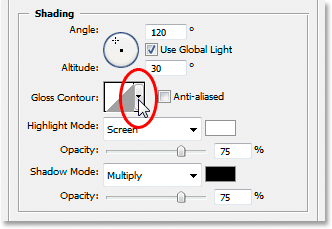
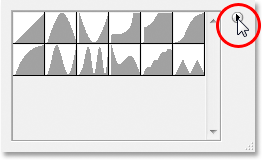
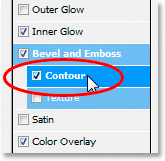
dan klik pada panah arah ke bawah da akan keluar kotak seperti di bawah ini,lalu klik panah ke arah kanan :
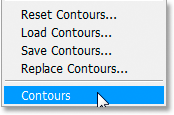
dan pilih contorus
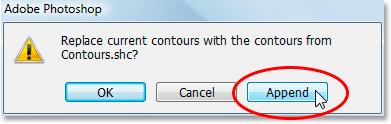
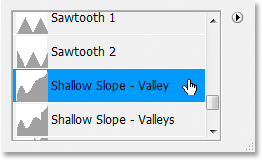
maka akan keluar pop-up,dan pilih Append:
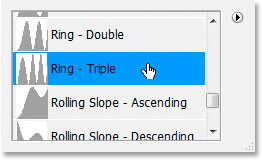
pilih Ring-Triple:
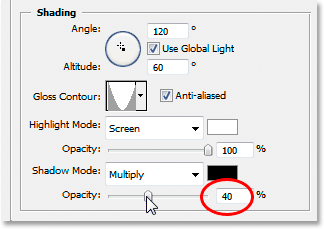
atur lagi bevel and embossnya:
STEP 4
Klik Contour :
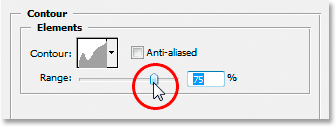
maka akan seperti ini:

STEP 5
tekan di keyboard ctrl+j
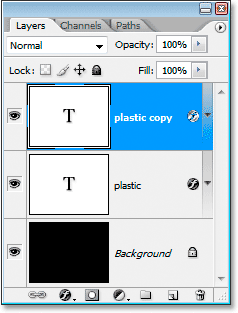
dan klik layer yg ada dibawah lastic copy
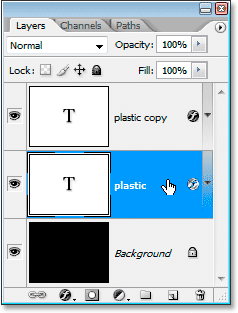
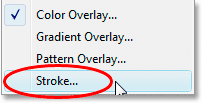
Step 6
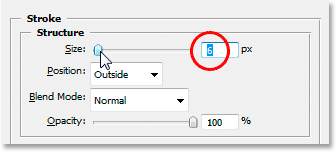
klik lagi logo Fx yg ada dibawah kanan,dan pilih stroke:
Step 7
klik bevel and embosh:
Click OK dan selesai :

cara yg sangat mudah,jika ada pertannyaan silahkan komentar disini ^^
sumber:photoshopessentials.com
sumber:photoshopessentials.com


.jpg)


ini pake photoshop yaa,, kebetulan ane suka banget edit-edit di photoshop,, izin boorkmark yaa
ReplyDeletekoment back yaa www.ankurniawan.blogspot.com
oke gan,silahkan :D
DeleteWah keren2 tutornya gan.... Update truss ya... (y)
ReplyDeleteoke gan :D
Deletegila keren amat gan
ReplyDeletethanks gan,terimakasih sudah berkunjung
Deleteuhuuuuy,,, salah satu pelajaran ane di kampus ini hehehehe,, mksh ya sharing nya
ReplyDeletewokwokwok XD
DeleteOke gan (y)