Membuat Effect Aurora dgn Photo Shop
Step 1
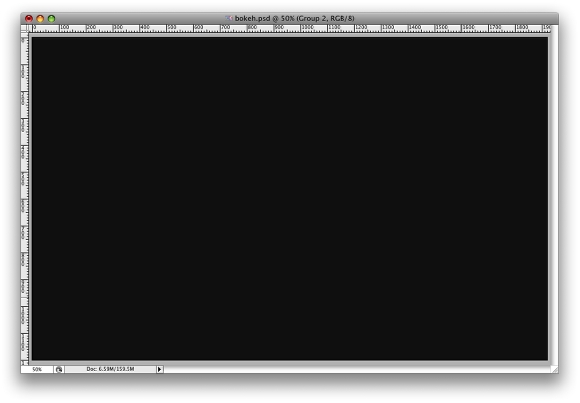
Create a new document in Photoshop. As usual I will use a nice scree resolution,
1920x1200 pixels.
Fill the background layer with a very dark grey, not black. If you fill
it with black the effect won't work. The color I used was
#262626.
Step 2
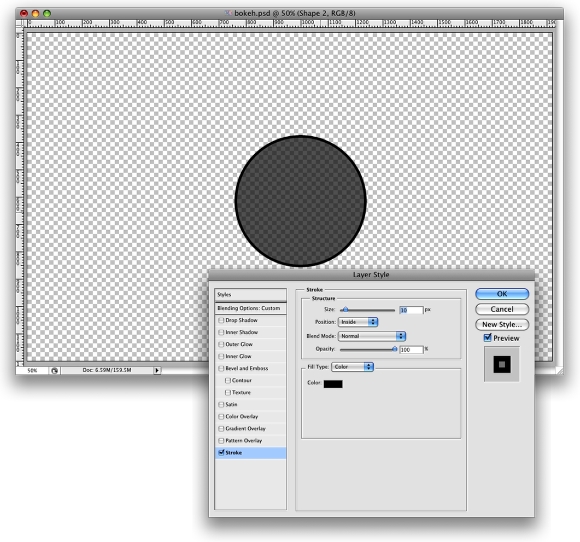
Select the
Ellipse Tool (U), and create a circle. Use black for the color, and go to
Layer>Layer Style>Blending Options. Change the
Fill Opacity to 50%. After that select
Stroke. Use
10 pixels for the size, Inside for the Position and Black for the color.
Step 3
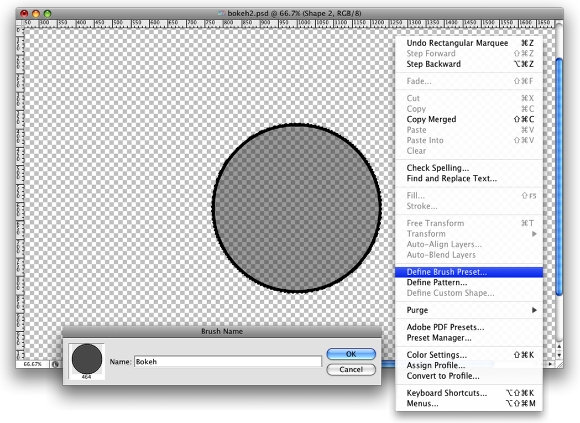
Select the ellipse and go to
Edit>Define Brush. Name your brush and that's done. Now we have a new brush ;)
Step 4
Go to
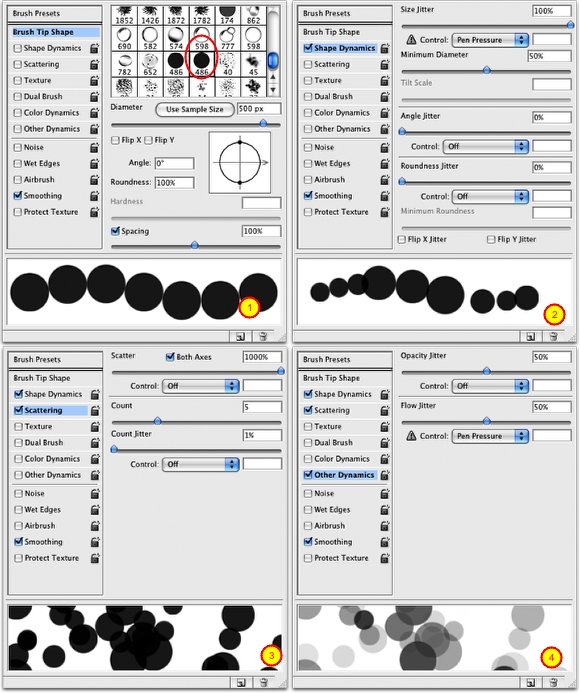
Window>Brushes (F5). The first thing to do in the
Brush Engine is to select our new Brush. The size won't matter because you will change that when you use it. The
Spacing, however, is very important. Chage the value to
100%. After that, select the
Shape Dynamics, then Scattering and Other dynamics. For the values use the image below.
Step 5
Before we start painting our bokehs let's create a new layer and
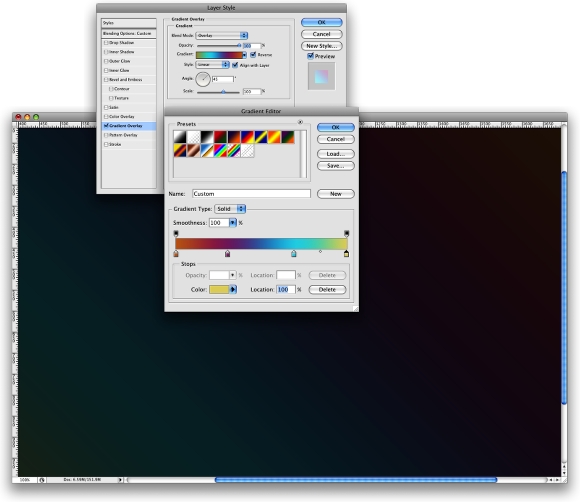
fill it with a colorful gradient. I created a new layer and used the
layer styles to do that but feel free to do the way you are used to. My
gradient settings are as follows:
Blend Mode is Overlay, Opacity is 100%, Style is Linear, and the Angle is 45º. The colors I used are:
Yellow (#00085), Cyan (#1bdaeb), Purple (#9b3b81), Orange (#d27e34).
Step 6
Let's create a new
Folder in our Layer Palette. Rename the folder to Bokehs and change the
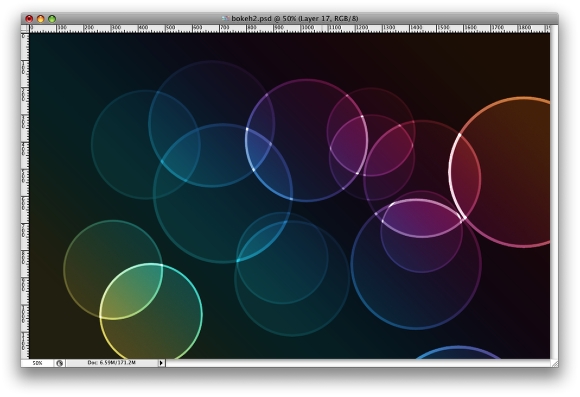
Blend Mode to Color Dodge. Then create a new layer, choose white for the color and select the
Brush Tool (B). Now just paint some ellipses with our custom brush. For this first layer use a big size, like 500-600px.
Step 7
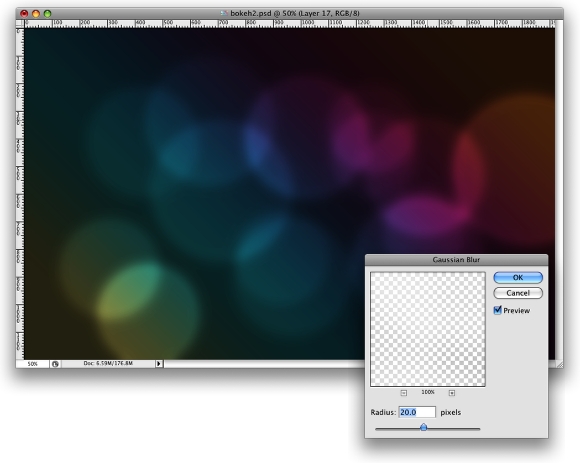
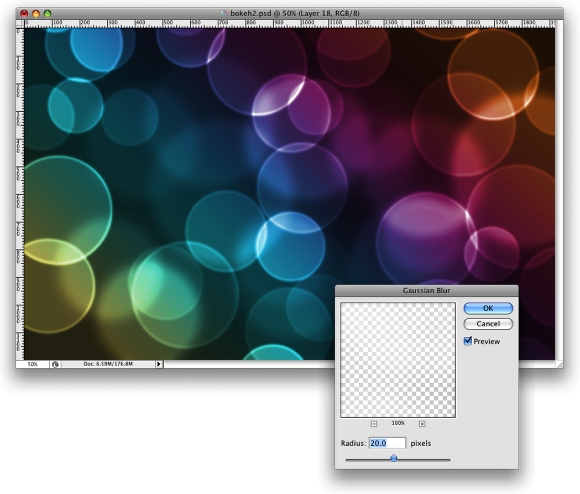
Go to
Filter>Blur>Gaussian Blur. For this first layer use
20 pixels for the Radius.
Step 8
Create another layer and paint more brushes. This time however use a smaller size for the brush. After that go to
Filter>Blur>Gaussian Blur. Use
4 pixels for the Radius.
Step 9
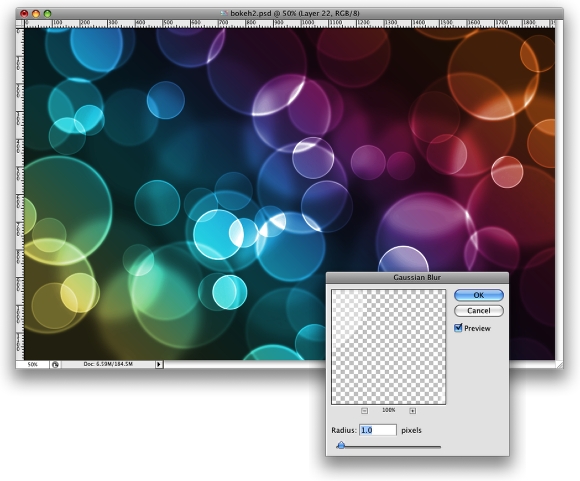
Create another layer and repeat the previous step, this time however use a much smaller brush. Apply the
Gaussian Blur to this layer as well, but use only
1 pixel for the Radius.
Hasil Akhir:
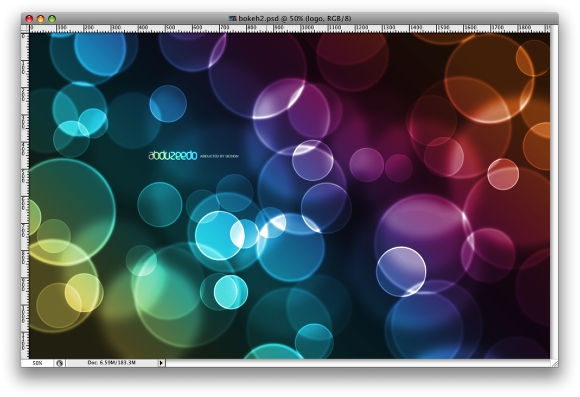 Click on the image for a full prev


tutorial ini ga jelas gan..info yang di kasi sama desain nya ga jelas dan sesuai dengan hasil nya..
ReplyDelete..
ini bukan aurora tapi lebih mendekati efek bokeh..
jika di ikuti dari langkah ke langkah hasil nya g akan sama .karan ada beberapa poin yang sengaja tidak di cantum kan,
entah maksud nya apa saya juga kurang paham tapi yang jelas. tutorial ini g teratur.